AI
Development
AI
Development Shopify
 Magento Open Source


Migrating from WooCommerce to Shopify: Step-by-Step Guide
Moving from WooCommerce to Shopify is a significant choice for any business-running online store. Whereas WooCommerce has a large amount of freedom attached to it, Shopify also comes with a full-fledged, easy-to-use ecommerce-enabled site but better scalability, security, and support features. This particular article provides you with the full step that you would need to take to ensure successful migration while retaining the information, functioning and SEO rankings of your store.
- June 6, 2025
- by Tarun

Why Migrate from WooCommerce to Shopify?
Although WooCommerce remains a popular choice for WordPress users, the challenges that businesses run into at scale often manifest in complex processes of maintenance, security concerns, scalability and technical issues. On the flip side, Shopify is a hosted and Highly Operationalised application that includes the following features:
- Ease Of Use: The dashboard is intuitive for managing the store.
- Security: Secure transactions with an embedded SSL certificate and PCI compliance.
- Scalability: Handle increased traffic and sales without slowdown.
- 24/7 Support: You have dedicated customer support for troubleshooting and queries.
These features, in conjunction, will make Shopify a magnet for store owners seeking to streamline their operations and set their sights on growth.


Planning Your Migration
Set a Timeline for Migrating
Select a migration date that wouldn’t produce a lot of disruption to your business. Do not schedule it even in peak sales periods in order to allow a smooth transition.
Back Up Your WooCommerce Store
You should back up your entire WooCommerce store prior to performing any modifications to it.
The entire back-up should consist of the following:
- Database: All product, customer, and order information.
- Media Files: Images, videos, and other media associated with your products.
- Themes and Plugins: Custom themes and installed plugins.
Fully utilise tools such as Updraftplus or BackupBuddy to take complete backups. Or one may also choose to manually export data using cPanel.
Choose the Right Shopify Plan
Shopify offers many plans tailored to different needs. Take your time to assess your needs and select a plan suitable to the size of your store and growth potential before starting the migration date.
Exporting Data from WooCommerce
Product Information Export
Visit the WooCommerce > Products > All Products menu and use the export function to export a CSV file with the product information. Include relevant fields such as product names, descriptions, prices, and images.
Fresh Export of Order and Customer Data
For example, WooCommerce > Customers and from WooCommerce > Orders. The format of this export would be CSV, and the information would contain customer details, order histories, and much more.
Export Other Content
For other content, including blog posts, pages, and reviews, manage it manually or through the import/export method applicable to specific plugins. WP All Export would support this task in exporting different types of content.
Importing Data to Shopify
Importing Products
In the Shopify administrator, under Products > All Products, click Import, and upload your CSV file of product details. An import product process will occur, after which a preview will be shown. This is the opportunity to examine the imported data and correct any mistakes.
Importing Customers and Orders
Customer and order data may be imported with the built-in tools in Shopify or through an application such as Matrixify. Both these tools work marvels when it comes to the handling of large datasets and ensuring data integrity.
Importing Other Content
You should manually create blog posts and pages in Shopify or use the supported apps to perform content migration. Have a double-check to ensure that the content is transferred accurately and formatted correctly.
Still Confused! Why choose Shopify? Here are a few reasons why Shopify is the best ecommerce platform.
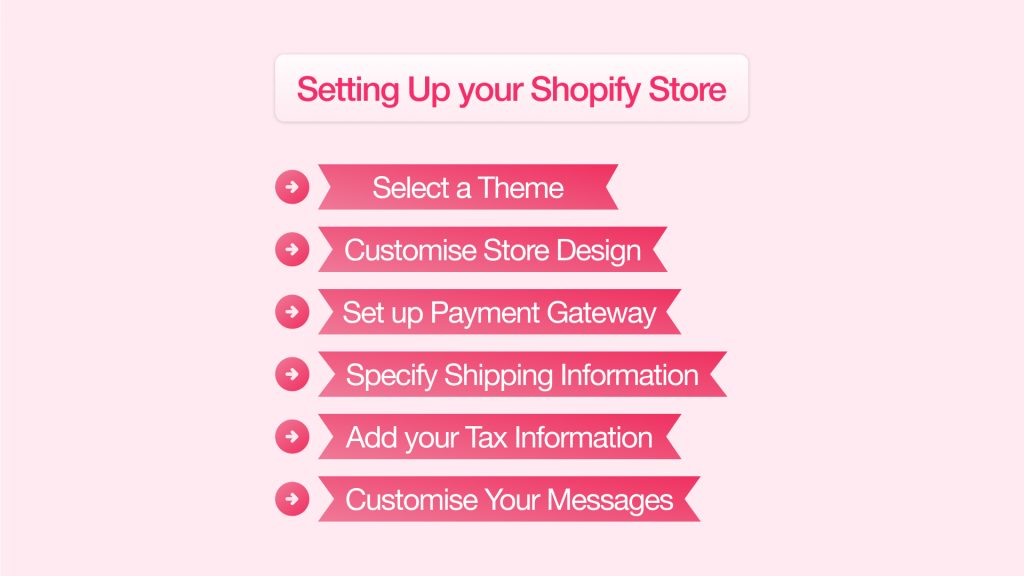
Selection of Theme
Pick out a Shopify theme which corresponds with your brand’s aesthetics and needs as far as functionality is concerned. There are many free and paid themes in the Shopify store that are mobile-responsive and can be customised.
Customise Your Store Design
Edit the layout of the homepage, layout and the design of the navigation menus, and also the product pages as per the brand identity. Equip these with a drag-and-drop editor by Shopify in order to experience better intuitive design.
Set Up Payment Gateways
Payment providers would be set up for acceptance of payments from customers. Shopify accommodates various payment gateways including PayPal, Shopify Payments, and Stripe.
Specify Shipping Settings
This defines various shipping zones, their rates, and the method of shipping to your actual business needs. Shipping profiles may be established for different products and regions within Shopify’s capabilities.
Tax Setting
Tax setup according to local regulations. Involved would be as follows: -cut out the small, free time spent in the calculation of taxes by automatically considering the taxes as the location of the store and the addresses of customers.
Customise Messages
Tweak the email template to include order confirmations, shipping updates, and other messages to clients. The wording should be in line with your brand’s tone while giving a clear message.
Implement SEO Best Practices
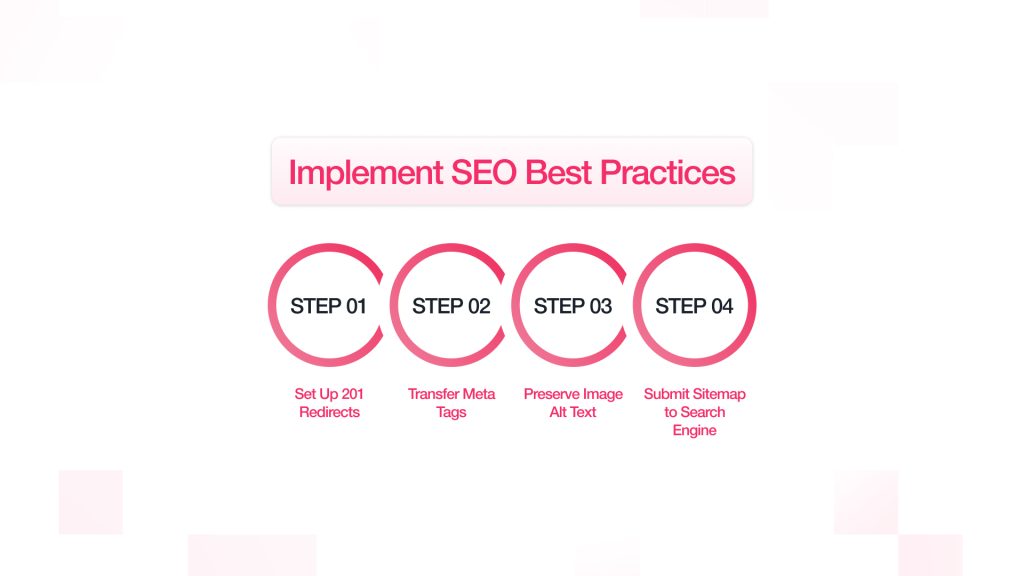
Set Up 301 Redirects
Implement 301 redirects from the old WooCommerce URLs to avoid the loss of SEO value of the new Shopify URLs. The Shopify URL redirection tool provides proper URL redirection with an efficient interface for managing redirects.
Transfer Meta Tags
Double-check that all meta titles and descriptions have been transferred correctly. Manually apply any missing or incorrect meta tags to make sure search engines can see them.
Preserve Image Alt Texts
Confirm that alt texts for every image are intact for the ranking of image searches. The likes of Matrixify can assist in this area too by transferring image alt texts during the migration process.
Submit Sitemap to Search Engines
To help with indexing, submit the new Shopify sitemap to search engines. Shopify generates sitemap.xml automatically, which can be submitted to Google Search Console.
Looking to Update or Migrate your Ecommerce Website?
Our Experts Can Help!
Testing your Shopify Store
Functionality Testing
Check the function, including the product page and the checkout process with payment gateways, is running correctly. Carry out test transactions to check the whole purchase process.
Mobile Responsiveness
Test the store on various devices for a completely seamless mobile experience. Shopify themes are ensured to be mobile-responsive, so testing is necessary on several different screen sizes.
Performance Testing
Now, Test and Check Your Shopify Store Loading Speed Performance; use tools such as Google PageSpeed Insights, GTmetrix, or Pingdom. Find the following metrics:
- Loading time
- Time to First Byte (TTFB)
- The Largest content paint (LCP)
- Total blocking time
Shopify hosting is designed for speed but still needs extra configurations in optimising images, not using too many apps, and following efficient coding practices to ensure fast response and speed performance on the store.
Analytics and Tracking
Before officially launching, set up all necessary analytics tools:
- Google Analytics: For user behaviour analysis, session and bounce rate tracking, etc.
- Google Search Console: Manage indexing, crawl errors, and performance of keywords.
- Facebook Pixel / TikTok pixel: This is for ad retargeting in case paid campaigns are running.
Easy for Shopify Add tracking scripts via the settings or directly in the theme files.
Launching your Shopify Store
Connect Your Domain
Regardless of whether you are using a domain previously connected to WooCommerce or one that you purchased new, pointing your domain at Shopify is crucial:
- Modify the DNS settings through your domain registrar.
- With the domain settings on Shopify, verify that the connection is established.
- Enable SSL for secure transactions and to gain visitors’ trust.
DNS changes can take up to 48 hours, so allow for that in your planning.
Enable All Key Feature
In essence, before launching the shop to the public, make sure to check on:
- The payment methods must be functioning and must have been tested.
- The shipping rules must be working and also proper calculations made with respect to taxes.
- The legal policies (return, privacy, etc.) must all be updated.
These ensure conversion and a smooth, professional user experience for customers.
Notify Your Customers
After everything is in place, it’s time to announce the transition:
- Email Campaign: Inform existing customers of the transition, explain the benefits, and offer a launch discount to entice them to visit.
- Social media: Posts across the board should highlight the store and link directly.
- Announcement Bar: Using either Shopify’s built-in announcement bar or an app, notify new visitors about what’s happening.
Clear communication will help avoid confusion for repeat customers who remember the old WooCommerce interface.
Post-Migration Tasks
The moment-site is live, do not consider your job over. The post-migration phase is vital for the long-term success of your site.
SEO Monitoring
Google Search Console and rank-tracking tools should be used to check for the following:
- Indexing Status: Ensure that the new pages are indexed.
- Crawl Errors: Correct any 404 pages resulting from broken redirects or content that has gone missing.
- Keyword Performance: Keep an eye out for any drops in search rankings, and if any do appear, adjust your meta content or internal linking accordingly.
If you notice a loss of traffic, you should go back to your 301-redirect listing to ensure that none of the old URLs was missed.
Evaluate Performance Metrics
Review the following store metrics at regular intervals:
- The conversion rate
- Average order value
- The bounce rate
- Page views per session
Analyse qualitative insights from Shopify’s Analytics and third-party apps and tools such as Hotjar or Lucky Orange.
Explore App Store Add-ons
With an app ecosystem, Shopify allows new functionality to be added, for example:
- Ongoing services
- Advanced reporting
- Loyalty programs
- Upsell and cross-sell tools
- Reviews and user-generated content integration
Avoid installing too many apps at once. Test new functionality one by one, monitoring each for its impact on store performance and usability.
Customer Service Readiness
It’s time to build or simply replace those support systems (chatbots, help desks, FAQs) if they happen to be dependent on WooCommerce plugins.
- Shopify integrates with other tools like Gorgias, Zendesk, and Tidio.
- Update your help documentation and support pages to match Shopify’s navigation and checkout process.
This type of post-migration communication will help instil confidence in your brand in the clients.
Keep Regular Backups
Shopify primarily conducts the server-side maintenance, yet it is important to keep backups of:
- Product data
- Customers and order records
- Blog content
For automatic backup solutions against accidental deletion or future migration, Shopify apps like Rewind Backups are available.
Key Difference to Account For
For the most part, when you migrate from WooCommerce to Shopify, there will be a difference between the functions and modules of each platform. This may impact the operations and strategy.
| Feature | WooCommerce | Shopify |
| Hosting | Self-hosted | Fully Hosted |
| Customisation | PHP-based, flexible | Liquid templating, theme-based |
| Payment Setup | Manual integration | One-click setup with Shopify Payments |
| Security | Requires third-party apps, SSL, firewalls | SSL and PCI compliance built-in |
| Plugin Ecosystem | Thousands, often free | Controlled, with monthly subscription model |
It’s time to adjust your expectations and change your approach. The goal for Shopify is simplicity, and well, of course, it comes with limitations compared to open-source WooCommerce.
Looking for a technical partner to help grow your Ecommerce store?
We Can Help!
Common Pitfalls to Avoid
Here are some mistakes to avoid during migration:
- Bypass Redirects: The absence of 301 redirects can cause a loss of SEO and confuse customers.
- Partial Transfer: When every possible detail about products, images, or customer history is not transferred, it can cause an inconvenience in usability.
- Ignoring Mobile Optimisation: It is also important not to ignore responsive design as a major portion of traffic is from mobile devices, and its conversion rate decreases.
- Over Carries Applications: Putting multiple applications would tend to slow down the site and complicate operations.
Plan methodically and test frequently with a view to prevent costly issues.
Conclusion
The migration from WooCommerce to Shopify involves preparing and executing with precision and then continually optimising the setup. The ideal migration prepares the ground for sustained growth with a modern and stable ecommerce platform that simplifies daily management and provides support for business growth.
In this guide, we’ve taken you through each and every aspect of the journey: backing up your WooCommerce data, optimising your new Shopify store for performance and SEO, and doing everything else along the way. By following these steps, you’ll be able to mitigate any risks, protect critical data, and create a smoother journey for your customers.
If you are still feeling somewhat indecisive about the WooCommerce to Shopify migration, perhaps you might consult a professional migration service or a Shopify Expert for assistance with technical tasks.